How to Recover Deleted Photos and Videos on iPhone (Without Losing Your Mind)
I was looking for a video of my nephew’s first steps a few weeks back, and it just wasn’t there. I hadn’t deleted it on purpose — at least I don’t think I did — but somewhere between clearing storage and jailbreaking through a bunch of screenshots I didn’t need anymore, it vanished. If you’ve had this happen, you know the specific kind of panic that sets in. Your first instinct is to assume it’s gone for good.
It usually isn’t. Not right away, anyway. Here’s what actually happens when a file disappears from your iPhone, and what you can do to get it back.
Deleted doesn’t always mean gone

When iOS deletes a photo or video, it doesn’t scrub the data off the storage chip immediately. What actually happens is closer to labeling that space “available” — the file’s bytes are often still sitting there until something else gets written over them. That’s the whole reason iPhone data recovery works at all. Software that knows how to look for these leftover fragments can often pull them back, even after they’ve disappeared from the Photos app entirely.
The part people don’t realize soon enough is that this window closes. Every photo you take, every app you download, every backup you run afterward is another chance for the phone to reuse that “empty” space. So if you’ve just noticed something’s missing, the best thing you can do before anything else is stop using the phone as normally as you can. Don’t shoot new photos, don’t install updates, don’t let it back itself up again. Just set it down for a bit.
First, check the places people forget about
Before you go looking for any kind of iPhone data recovery tool, it’s worth ruling out the boring answers, because sometimes the fix really is that simple.
Open Photos, tap Albums, and scroll to “Recently Deleted.” Apple holds onto deleted photos and videos here for 30 days before actually wiping them, so there’s a decent chance the file you’re panicking about is just sitting there waiting.
If you had iCloud Photos syncing on, pull up icloud.com on a computer and check there too. It’s not unusual for something to disappear locally but still be hanging around in the cloud, especially if the deletion didn’t sync properly or happened on a different device.
And if you’ve got an older iTunes or Finder backup from before the file went missing, restoring from it is technically an option — though I’ll be honest, it’s a blunt instrument. It replaces everything currently on your phone with whatever was on it at backup time, so you could end up trading one loss for another if you’ve added anything important since.
None of that working? That’s usually the point where people start looking at dedicated recovery software.
Why software beats poking around manually
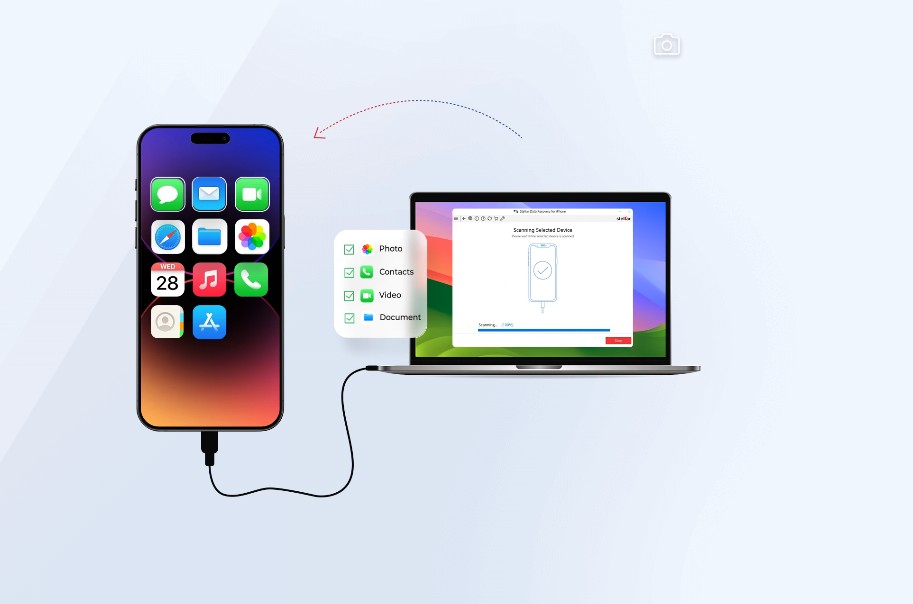
I’ll admit I was skeptical of recovery software the first time I needed it — it felt like the kind of thing that promises the world and delivers a popup asking for your credit card. But the legitimate ones work on a genuinely different level than anything you can do by hand. Instead of just checking the file index (basically, the phone’s table of contents), a decent iPhone data recovery software scans for the actual data patterns of deleted files — what’s called file signature scanning — which is how it finds things the operating system itself has already “forgotten” about.
Stellar’s iPhone data recovery software is one I’ve come across that does this fairly thoroughly. It handles the usual suspects — photos and videos — but also messages, contacts, call history, notes, and voice memos, and it can pull from either the device directly or from an iTunes/Finder backup, encrypted ones included. That last part matters more than people expect, because plenty of recovery tools choke the moment a backup has a password on it. The best part of this software is that it offers free iPhone data recovery of 10 photos or videos with size limit of 10MB each.
The actual process, step by step
This isn’t complicated, but a few of the steps trip people up, so here’s roughly how it goes:
You’ll start by installing the software on a Windows or Mac computer — not the phone itself, since this kind of scanning needs to run on a desktop. Most options, including the one linked above, let you download for free and preview what’s recoverable before you have to pay for anything, which is worth doing regardless of which tool you end up using.
Plug your iPhone into that computer with a cable and tap “Trust” on your phone if it asks.
From there you’ll pick what you’re trying to get back — photos, videos, messages, whatever applies — and choose whether to scan the phone itself or a backup file, if you’ve got one.
Let the scan run. A quick scan is usually enough for anything deleted recently. If your file doesn’t turn up, there’s typically a deeper scan option that takes longer but digs further, since it’s not relying on the file index at all at that point.
Before you save anything, look through the preview. This is the step I’d tell anyone not to skip — you want to actually see the photo or read the message before committing to recover it, rather than exporting a folder of files and hoping.
Once you’ve confirmed what you want, save it somewhere on your computer. Not back onto the iPhone — writing new data to the phone while you’re still trying to recover other files is exactly what you’re trying to avoid.
What’s actually recoverable
People tend to assume this kind of software is just for photos, but that’s underselling it. Depending on the tool, you’re usually looking at camera roll photos and Photo Stream images, videos (including ones sent through messaging apps), iMessages and attachments, contacts you can export as VCF, CSV or HTML, call history, notes and their attachments, voice memos, and Safari bookmarks.
That range is really what separates a serious data recovery iPhone tool from something that only handles pictures and calls it a day.
Things that actually move the needle
A handful of things make a real difference to your odds here, more than any specific software feature:
Stop using the phone the moment you realize something’s missing — every bit of new activity is competing with your deleted files for the same storage space.
If a device scan doesn’t turn up what you need, try scanning a backup instead. Files sometimes survive in a backup that’s already gone from the phone itself.
Actually use the free preview before paying for anything. Any decent iPhone data recovery tool will let you see what it can find first — if a tool won’t show you a preview, that’s worth being suspicious of.
Keep your backups current going forward. It won’t stop accidental deletions from happening, but it gives you a second chance when a scan comes up short.
When it just won’t work
I don’t want to oversell this — no software recovers everything, every time. If the space where your file lived has already been overwritten by newer photos or app data, that file’s probably gone for real. Phones that have taken serious water damage or physical damage are a separate problem entirely, and at that point you’re usually better off looking into an actual data recovery lab rather than consumer software.
Where that leaves you
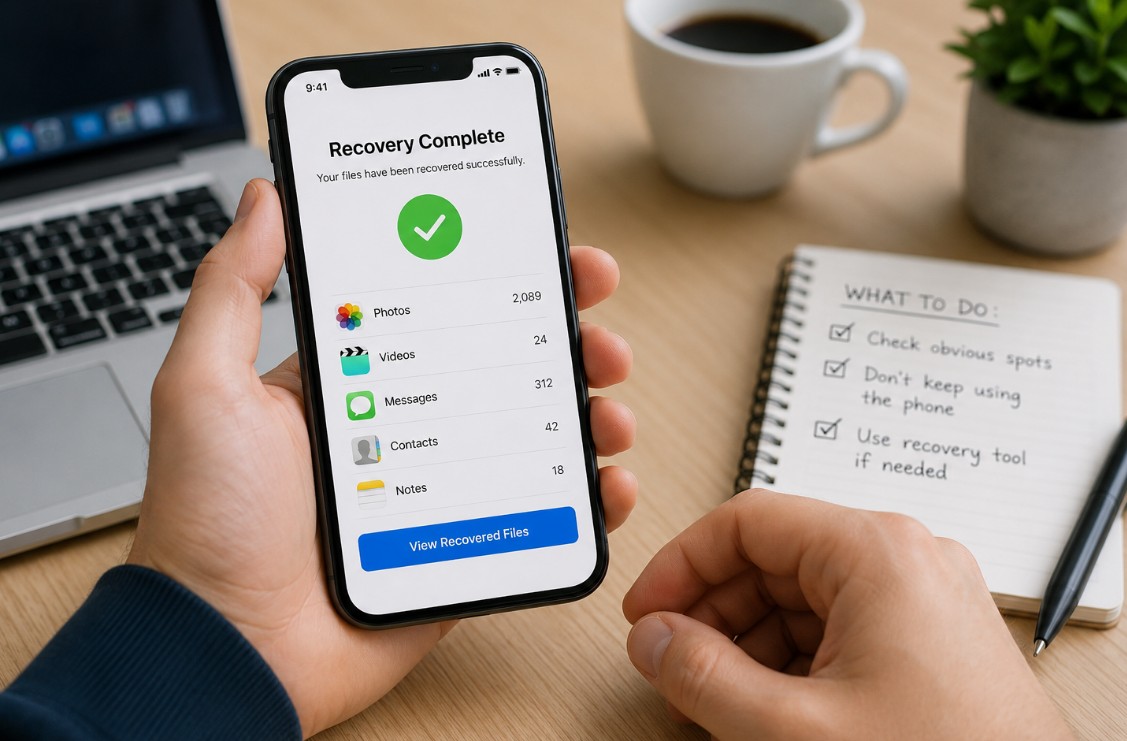
Losing something off your iPhone is one of those problems that feels much worse than it usually turns out to be. Check the obvious spots first, don’t keep using the phone like normal while you figure things out, and if none of that brings your files back, a proper recovery tool will get you further than most people expect. It got my nephew’s first-steps video back, anyway — Recently Deleted, as it turned out, was where it’d been the whole time, but running a scan is what convinced me to actually go looking there.