The Basics Of Thread Inspection
Machines and devices of all types are assembled with screws, and the fit and quality of the threads are of utmost importance.
Learn more in this article about how to inspect the threads on machinery and devices to ensure proper function and performance. We also cover how to measure threads and select the best screw for your application.
What Is A Thread, Anyway?
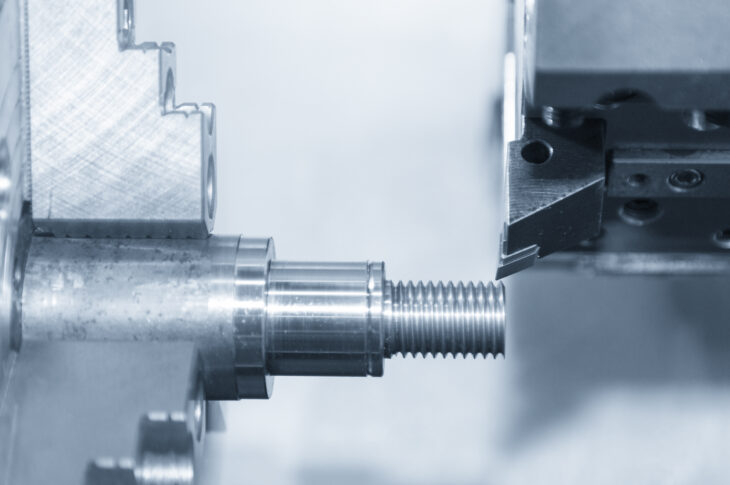
A thread is the helical groove of uniform quality and size put on the inside of a cylinder, but it can also be located on the outside of a shaft or tube.
Cutting threads correctly with your lathe means having a total understanding of the principles of making threads and how to cut them correctly. On a related note, it’s important to measure threads carefully with a professional gauge for ideal fit and part performance. Click here to learn more.
Before trying to cut threads, you must know how threads are used and the terminology and principles.
Experts say the idea of measuring or inspecting a thread is to ensure it has been cut at the appropriate depth. It is also vital to ensure the pitch diameter is in line with design specifications.
Next is pitch diameter, which is a theoretical cylinder’s diameter that is made where the groove width is the same as 50% of the pitch.
You can find thread dimensions on various thread charts. These are usually available in the typical machining manual or guidebook.
Fortunately, reading thread dimension charts is straightforward. The only thing you need to know is the diameter of the part. This number can be obtained by measuring with a caliper. It’s also important to know how many pitches per inch, which is easy to find when purchasing a thread gauge.
Experts note that the best place to measure the screw thread is on the angular or flank surface of the thread where the pitch diameter is.
Below are some popular ways to measure threads:
1. Thread Wires
The most popular way to measure threads in many applications is thread wires. This is an effective way to obtain highly accurate results. The tool is made to measure the external thread diameter accurately.
Thread wires are reasonably priced, but there is a disadvantage: You need to have considerable skill because they are challenging to keep in position for measuring purposes.
You need to use the wire set to measure threads. Then, you use the constant that must be subtracted from your first measurement to arrive at the pitch diameter. If you want to measure the thread with this, you should have three wires and purchase a micrometer.
2. Thread Micrometer
This device is used to give an accurate pitch diameter of the thread. While they are simple to use, they are more expensive than other methods.
A thread micrometer features a V-shaped anvil that will fit into any 60-degree thread angle.
A screw thread micrometer effectively measures Unified, sharp V, and American National threads, and it measures the pitch diameter from your screw threads.
3. Go/No Go Gauge
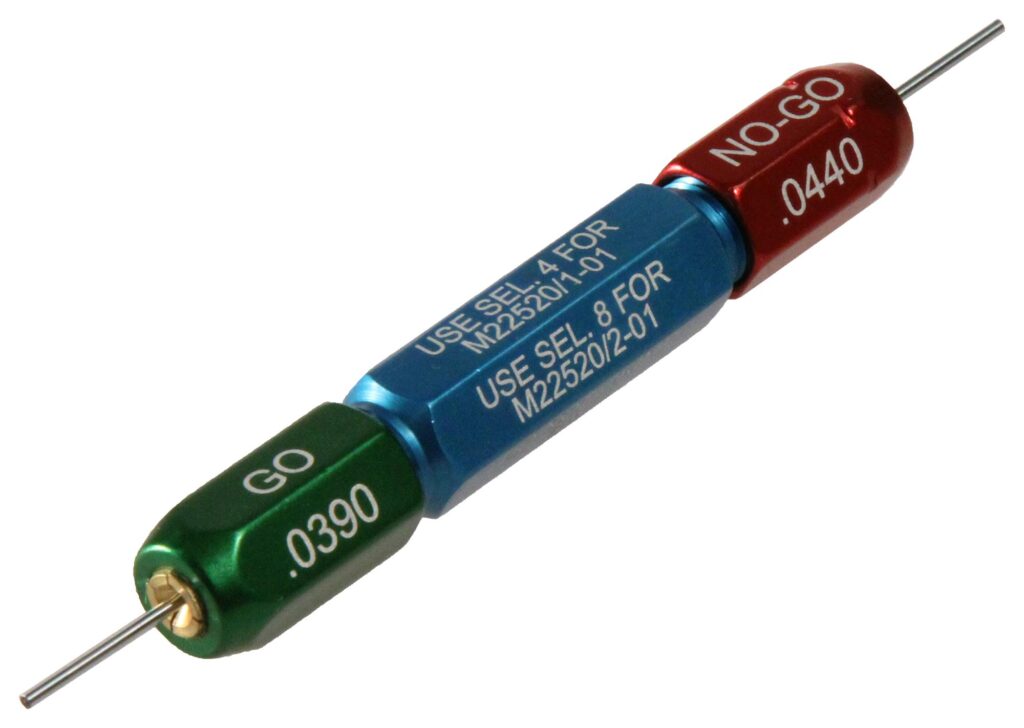
This is one of the most common measurement gauges used in thread inspections. However, this technique doesn’t provide as accurate and thorough results; all you will know is if the measured part is acceptable or not. No exact measurement is provided.
Ring gauges are in couples and using them is easy. If the measured thread is in spec, the Go gauge is a perfect fit and the No Go isn’t.
4. Basics of Thread Gauging
Every thread gauge is known as an attribute gauge. This means there is no feedback on the dimension size. That is the opposite of the measurement a caliper will give because it gives a precise dimension reading.
The thread gauge will do this in what we refer to as Go/No-Go, which we highlighted earlier. To fully understand this, let’s look at a common thread plug. It features a thread plug that has a handle on each side.
When you look at an interior thread, both parts of the end of the plug are put into the component that is threaded. If the inspection is good, the part will pass.
But if the Go end will not go in, you can say that the part that was threaded is too small. But if the No-Go end will thread into the component, the component was made too big.
When you use a thread ring, it works the same way but opposite of Go/No-Go. The rings come in a set. It’s important that the Go ring threads into the part and the No-Go ring will not.
How To Select The Best Screw For The Application

It’s critical to carefully measure and inspect the threads for your particular application. But how do you know you have the correct screw for the job? Factors to include in your choice of screw are:
- Ease of use: The fastening material should be easy to use, so choosing the best screw matters.
- Holds securely: Every screw is designed for certain materials, so it’s vital to choose one that works for the given material.
- Maximum safety: Selecting the correct screw is vital to make sure the materials are stable and hold over the long term.
Think about where the screw will be used – indoor or outdoor? When the application is inside, use more affordable screws made from zinc. But screws that are made for the outside must be safeguarded from temperature fluctuations and moisture.
Experts often recommend stainless steel or silicone-coated bronze for your outdoor applications.
Second, the critical factor with the screw you select is its length. It’s important for performance and stability that the screw is ½ the thickness of the material in which you place the screw.
Also important is the screw diameter, also known as the gauge. You can buy screws in gauges that range from two to 16. For many common household applications, it is often best to use a #8 screw. When using heavier materials, a #12 screws are often the optimal choice.
There’s no exact answer to the best way to measure threads. But now you have the information about thread measuring that you need to make the best choice for the situation.