How to Burn ISO to USB?
If you want to install any program or simply copy the data, the best solution is to download or create an ISO file. This type of file is most common when it comes to installing operating systems and programs for your computer, but is equally useful when you want to store a large amount of data in one place while compressing them. Of course, for OSes or applications, you have to download an ISO file from the Internet, while with the rest of the data, you can create this file by yourself with the help of various free programs that are as good as those paid ones.
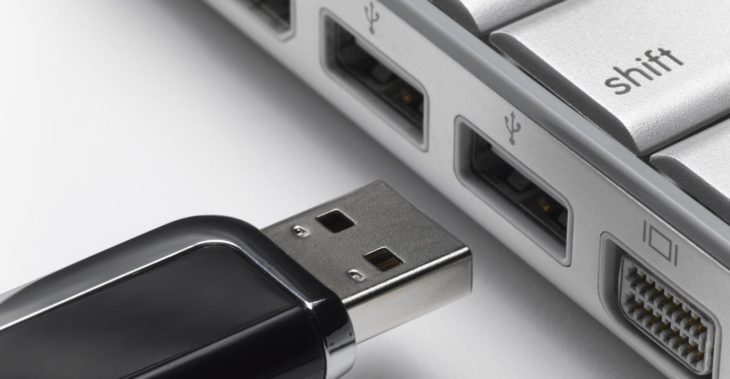
So, when you get the ISO file, you now need to burn it to a CD or DVD, or to a USB drive. Given that CDs are actually less used, in today’s article we decided to focus on USB drives and burning ISO files to these units. Another thing you need to do is get a USB drive of the right size (a few GB) so that any data, programs or operating systems can fit on it. Once you have obtained the ISO file and USB flash drive, we can proceed to the next step, the burning. You can often hear that it is not necessary to burn the files, but you can simply transfer the data to USB. Of course, this is not true, especially when it comes to OS.
Simply, in order to later read or modify the data contained on your ISO file, or install the program on your computer, the file must be burnt. Otherwise, you will not succeed. So, now that we have explained why it is actually necessary to burn the ISO to USB, we can begin. Keep reading to find out what are the best ways for this operation.
Download the appropriate program for burning ISO files
Of course, as we said, if you just transfer the file to USB, it won’t work properly. It is necessary to burn that file, and you can do it with some of the following programs that we have listed. For example, you can use Active ISO Burner, PassMoz LabISO or Free ISO Burner. Surely, there is much great software that will get the job done, but we have had experience with these, so for that reason, we can recommend them. Well, choose one of these programs and download it from the internet. After that, you can install it and start burning. Before that, let’s look at the characteristics of each one and the burning procedure.
Active ISO Burner
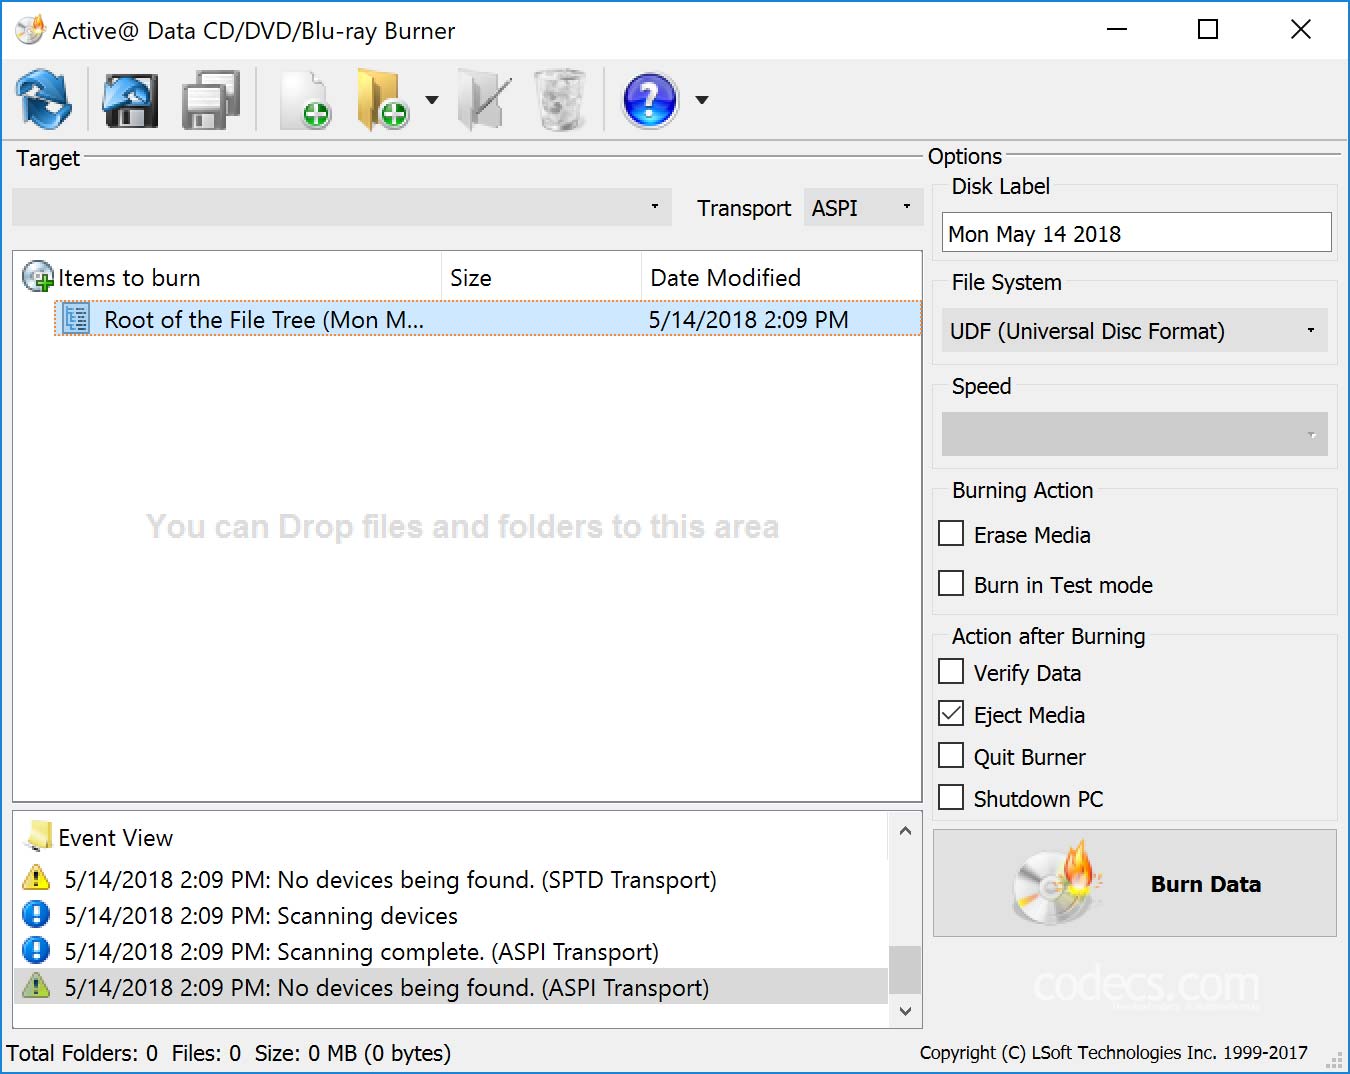
Active ISO Burner is one of the freeware developed by a team of experts at Soft Technologies. This team has experience and a reputation for developing very useful open source tools. One great thing about this software beside not having to pay a dollar is that you don’t even have to install the program, but just to download it and it’s ready to use. However, there is one problem that Active ISO Burner cannot run on Windows 64-bit. In addition, compared to some of the other programs mentioned below, this one is quite slow (it even takes a few minutes to burn an ISO file to USB). However, if you don’t mind this and you have the 32-bit version, then you can use it.
ISO to USB with Active ISO Burner (step by step)
Step 1: Download and run the program so you can start the procedure.
Step 2: Insert the USB flash drive into the USB port on your computer and wait for the computer and software to recognize it.
Step 3: You now need to select the ISO file that you want to be burnt on your USB drive, speed and number of copies. When you have done this, you must click “Burn” and wait for the procedure to end. And that’s all.
PassMoz LabISO

The next program we have chosen is called PassMoz LabISO, which was developed by the PassMoz team, which is, just like the team that created the previous software, dedicated to creating free programs that will make our work easier. After using PassMoz LabISO, you will conclude that they are able to create user-friendly software easy to use. In addition to burning the ISO file, you will also be able to create bootable USB if you want to install the operating system on some other computers. You can also choose between several different formats such as NTFS, FAT16 or FAT32. The advantage over the aforementioned program is that it is compatible with all operating systems and all versions (32-bit and 64-bit) but is also significantly faster.
ISO to USB with PassMoz LabISO (Step by Step)
Step 1: Download and run PassMoz LabISO. This will only take a few moments as well as burning ISO to USB.
Step 2: Insert the USB flash drive into the USB port. Interestingly, the program also allows you to do this with a CD or DVD if you wish.
Step 3: Find your ISO file, select “Create a bootable USB” and lastly click on “Start Burn”. In just a few moments you will get a device ready.
Free ISO Burner
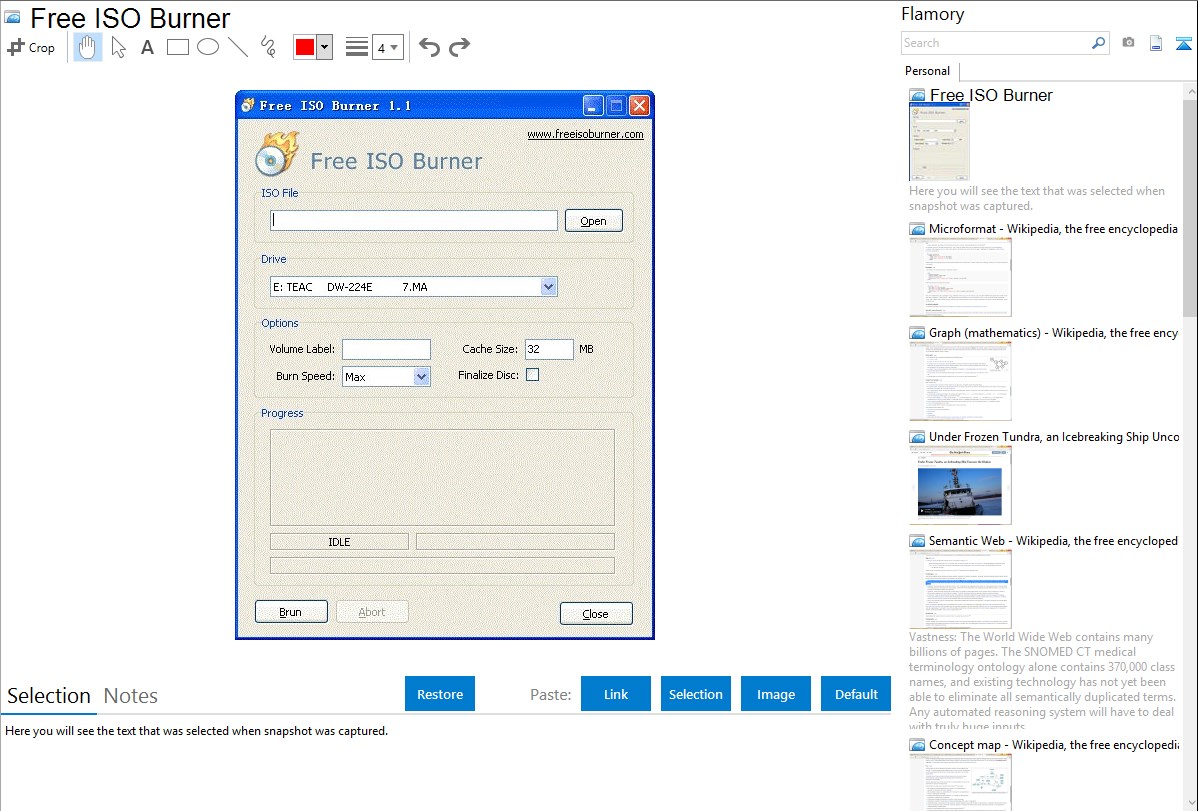
As you can conclude from the name, this is another free software. Interestingly, you only need to download the program, while the installation is not necessary. When it comes to the burning procedure, we can say that it is quite similar to the previous programs we mentioned.
ISO to USB with Free ISO Burner (Step by Step)
Step 1: Download and run the Free ISO Burner.
Step 2: Insert the flash drive into your computer and wait for the device and burning tool to recognize it.
Step 3: In the software, select the ISO image file you want and click “Burn”. After that, it will take some time and your USB will be ready.
So, these are three great ways to create a bootable USB or just burn an ISO file to your flash drive. We believe that you will be pleased with any of burning software, no matter which one you choose.